
Last updated November 18, 2026
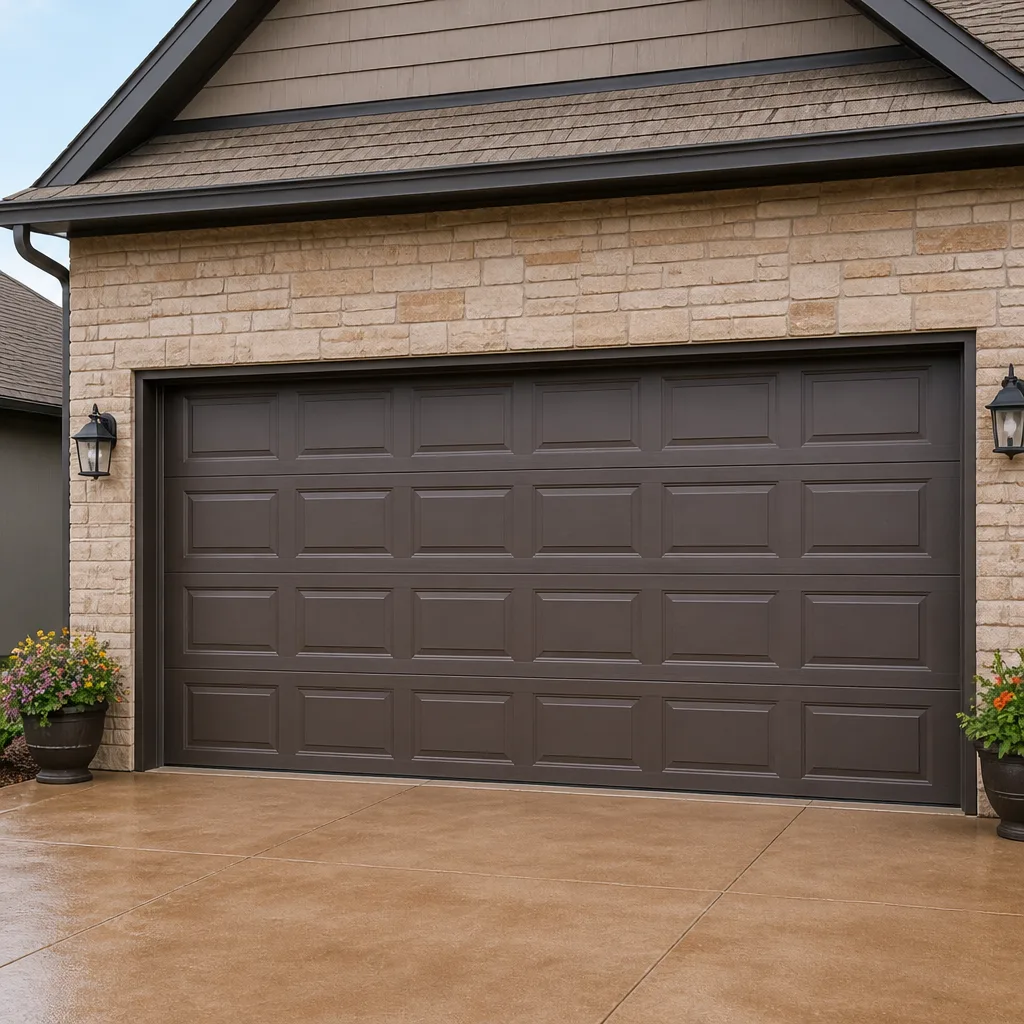 Raised-panel steel
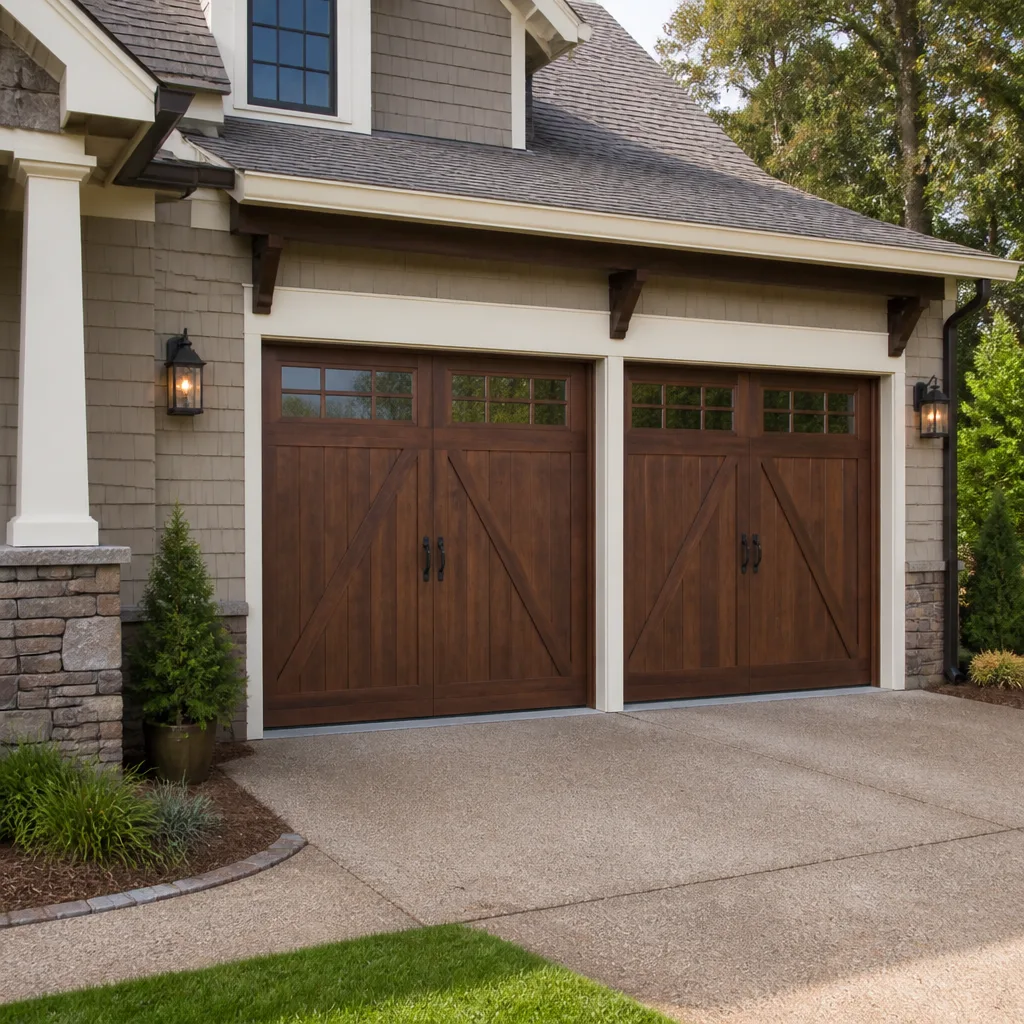 Carriage house
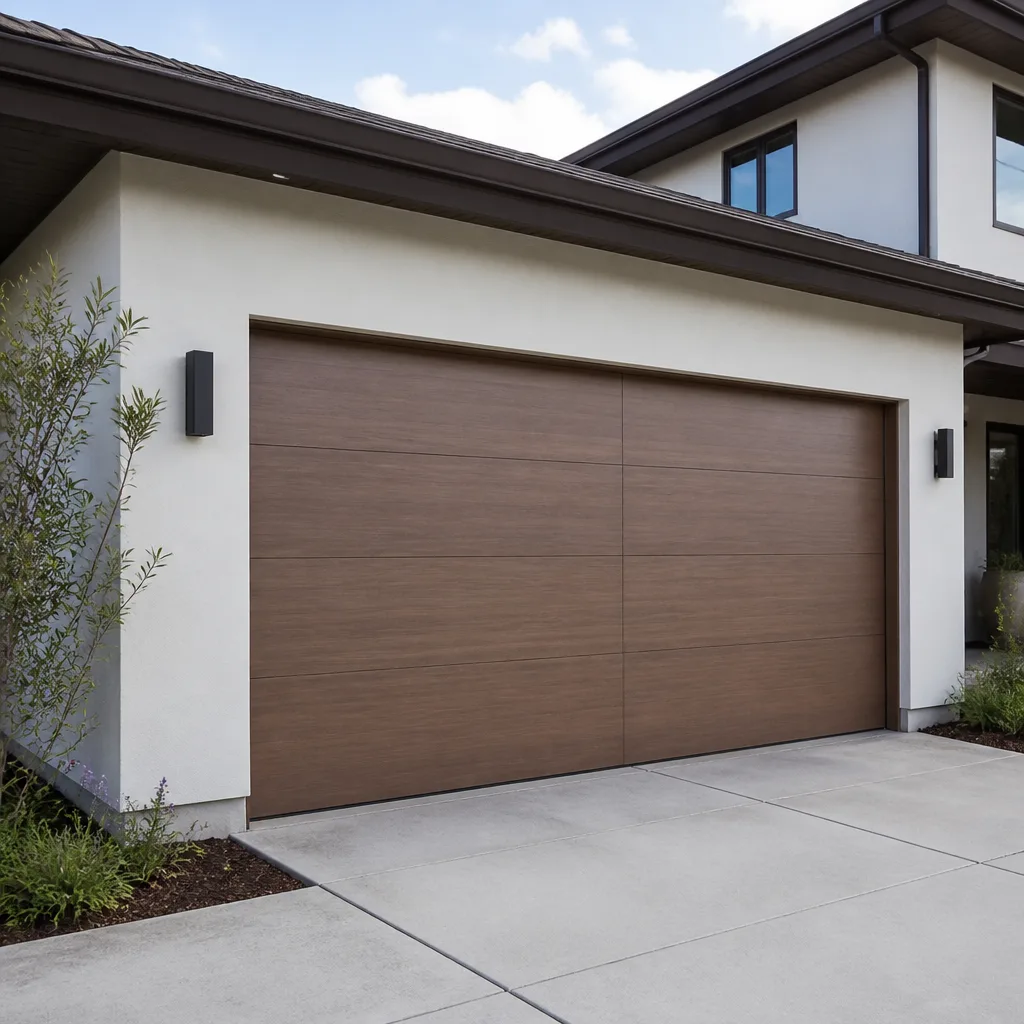 Modern flush
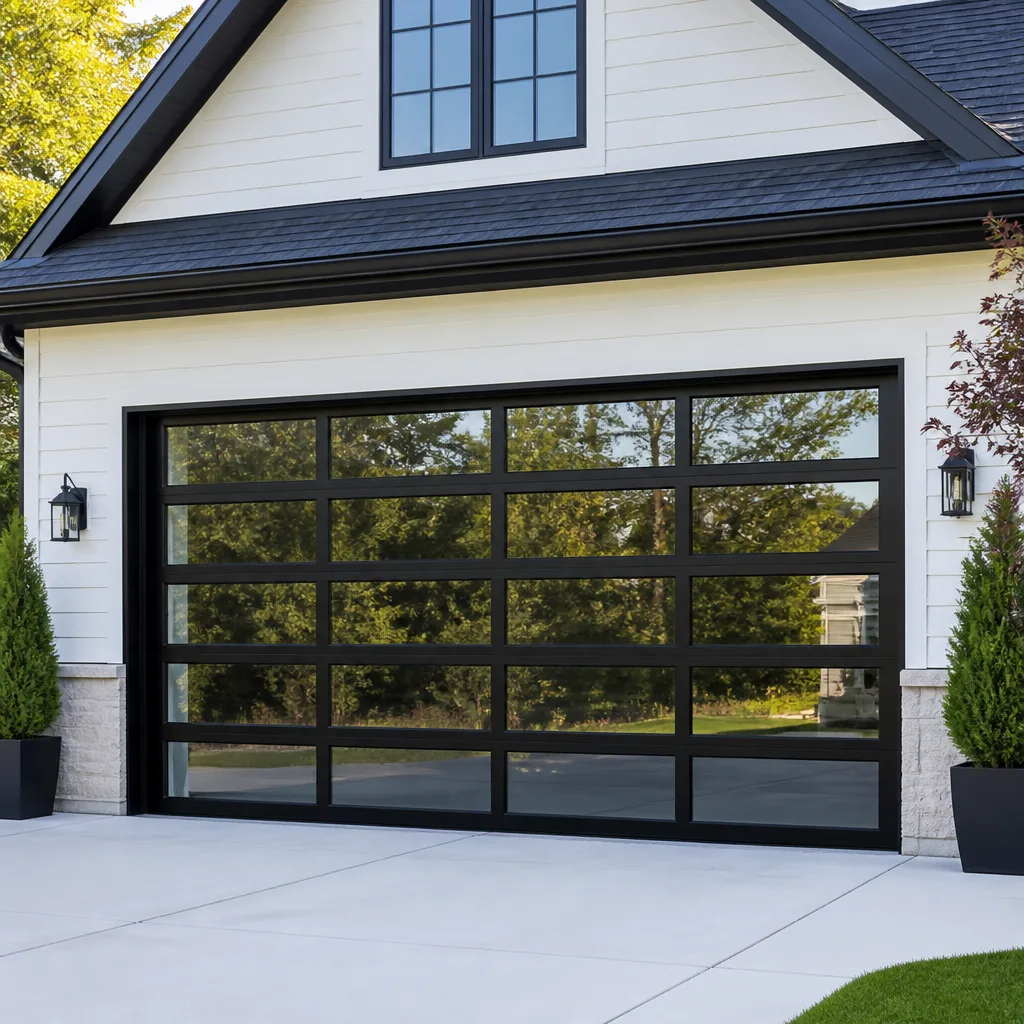 Full-view glass
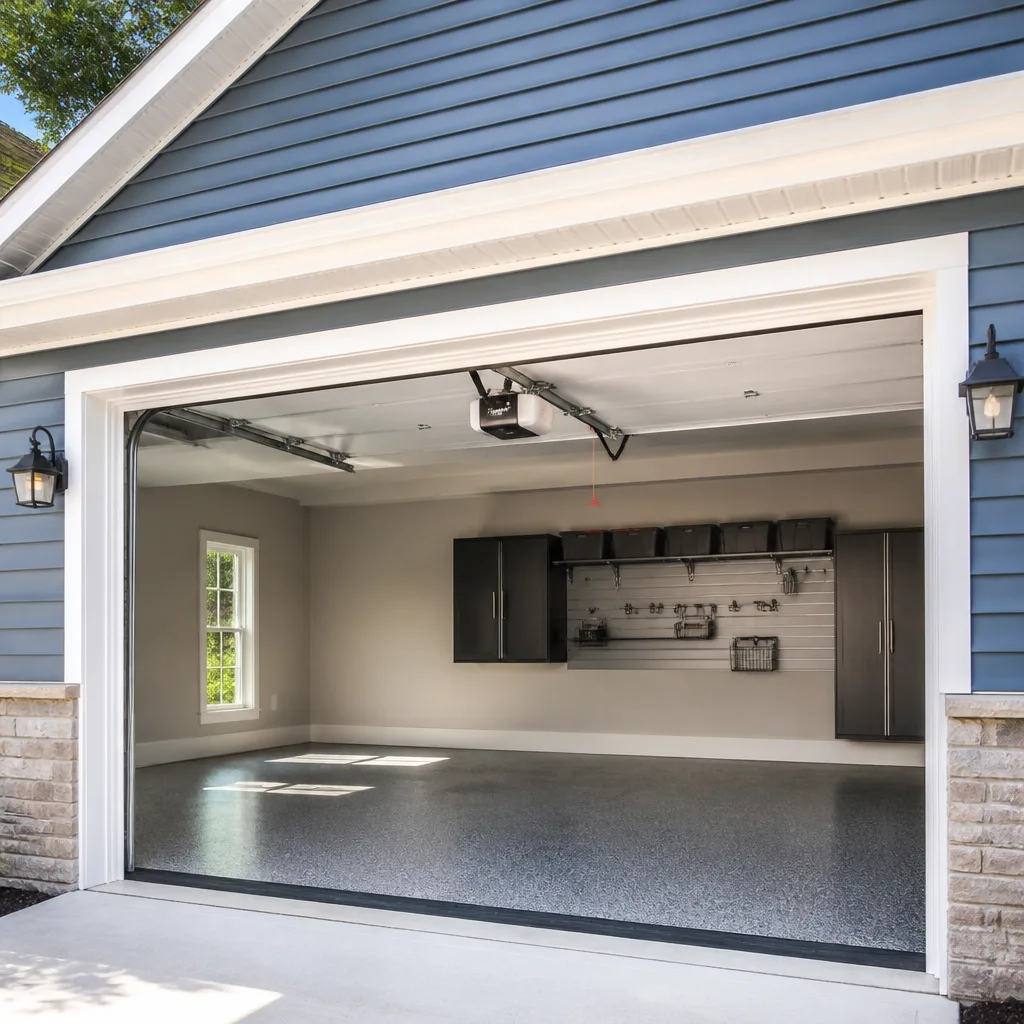 LiftMaster openers
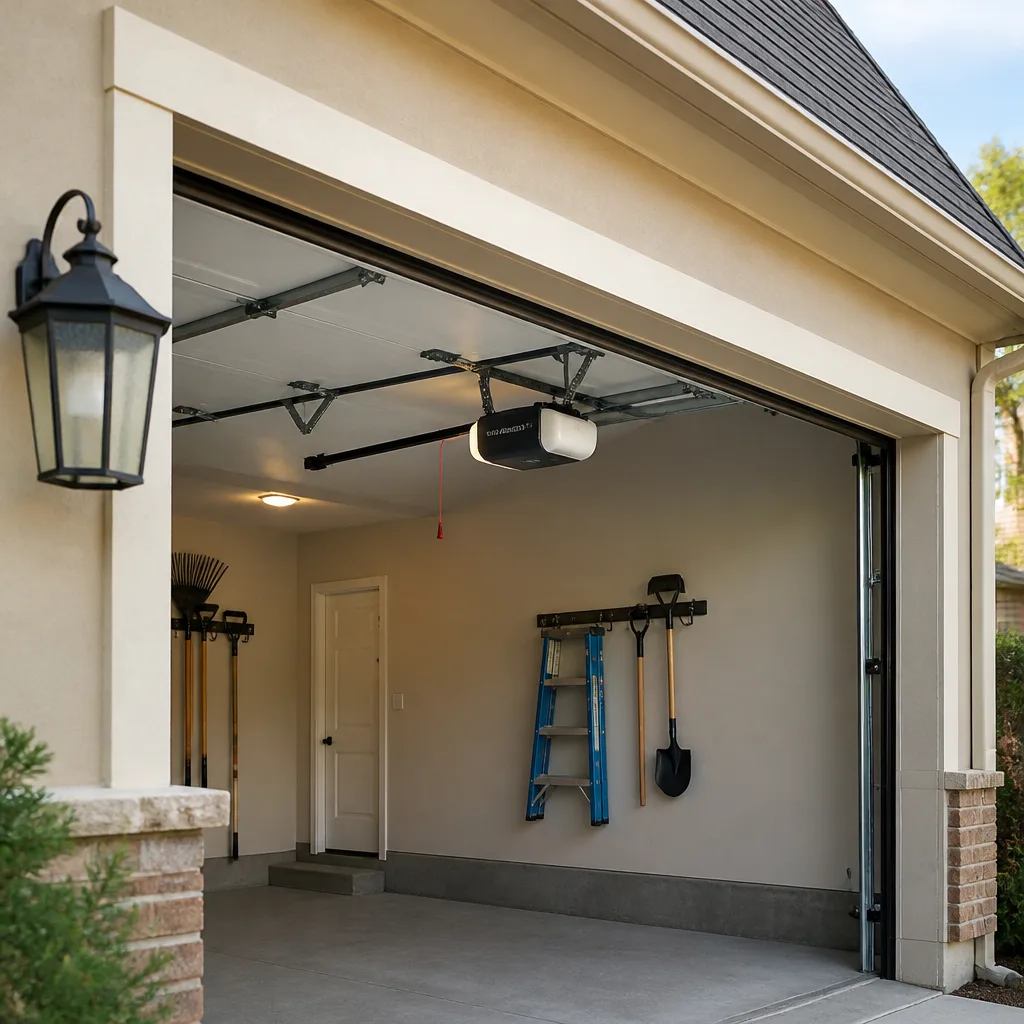 Chamberlain openers
Full 25-point door and opener safety check with every visit - springs, cables, rollers, tracks, and your LiftMaster or Chamberlain opener included
You get a price before we start. It does not change when the pro arrives.
Get your free estimateDIY vs Professional Garage Door Opener: What’s Safe to Do Yourself
A torsion spring stores roughly 100 foot-pounds of torque. That number exists not to frighten you but to explain why the same person who confidently wires a ceiling fan should still call a technician when springs are involved. Springs, cables, and the brackets that hold them under load are a different category of work than the motor hanging from your ceiling. Swapping an opener on a door that already works is one thing. Touching the spring system is another, and we’ll draw that line clearly in this guide, the way we do for homeowners across Winchester every week.
We’ll cover what a competent homeowner can safely handle, what a manufacturer’s instructions bury in the fine print, when your electrical setup becomes a code question, and what the real cost math looks like when something goes wrong. You’ll know exactly where the DIY line sits for your door.
Quick Answer
Replacing a garage door opener on an existing, working door is reasonable DIY territory for a careful homeowner with basic tools. Anything involving the spring system, new framing, rebuilding the door’s balance, or electrical work beyond plugging into an existing outlet is a professional job. A homeowner should never adjust or remove torsion springs, cables, or the brackets that hold them.
Styles & brands we work with
- Raised-panel steel
- Carriage house
- Modern flush
- Full-view glass
- LiftMaster openers
- Chamberlain openers
Table of Contents
- Where the DIY Boundary Actually Sits
- What a DIY Opener Swap Really Takes
- The Manufacturer Step Most Instructions Bury
- Will DIY Void Your Opener Warranty?
- The Electrical Code Question
- DIY Savings vs. Professional Cost: The Real Math
- Common Mistakes to Avoid
- When to Call a Professional
Where the DIY Boundary Actually Sits
The mistake most guides make is sorting tasks by skill level. The right way to sort them is by component. A homeowner with strong mechanical instincts is still not safe on a torsion spring, and a homeowner who has never used a socket wrench can safely hang a replacement opener if they follow the manual. Skill matters less than the category of the part in your hand.
Here’s how we sort it:
Reasonable DIY territory
- Replacing the opener motor unit on an existing door that is balanced and working.
- Mounting a new rail and hanging the motor per the manufacturer’s template.
- Pairing a new remote or wall console.
- Changing the light bulbs, resetting the travel limits, and adjusting the force sensitivity on your existing opener.
- Replacing the safety sensors and re-aiming them if the mounts already exist.
Call a professional
- Any work on torsion springs, extension springs, or the cables attached to them.
- Adjusting the door’s balance or track alignment.
- Adding a new dedicated circuit or running new electrical wire for the opener.
- Removing a dead opener and installing a new one when the door itself is out of balance.
- Any situation where a door won’t stay up or falls when released.
That last point matters most. If the door won’t hold position when you disconnect the opener, the door has a balance problem, not an opener problem. New openers get blamed for old spring problems constantly. A properly balanced door should hold itself halfway open without any help. If it drops, the springs are tired or the door is out of adjustment, and no opener made will fix that. Our Garage Door Repair in Winchester team sees this every month: a homeowner bought a new opener to solve a sagging door, and the real problem was a worn spring that had been losing tension for a year.
What a DIY Opener Swap Really Takes
If your door is balanced and working and you’re replacing a failed opener with a new one, you can do this yourself. Here’s what you need in front of you before you start.
Tools you’ll actually use
- Stepladder tall enough to reach the header bracket safely
- Drill with bits sized for your mounting hardware
- Socket set (openers use 7/16 and 1/2-inch bolts most often)
- Adjustable wrench
- Tape measure and pencil
- Level
- Wire strippers if you’re shortening any low-voltage wire
- Eye protection when drilling overhead
Time it takes
Plan on four to six hours for a homeowner’s first install and two to three for someone who has done one before. Add an hour if the old opener and new opener are different brands with different mounting hardware. Chamberlain and Genie, the two most common residential brands we work with in Winchester, use slightly different rail and bracket setups. If you’re switching between them, expect to drill new header holes.
Two people is safer than one
Most openers weigh between 25 and 45 pounds. Lifting one overhead while threading bolts is a two-person job for anyone past 50, and Winchester homeowners in their sixties are the most common installer of their own opener in our experience. Ask a neighbor or family member to hold the motor steady while you fasten the brackets.
If your door is brand new or dramatically out of balance, the work shifts. A Garage Door Installation in Winchester call handles the door and the opener together in one visit, which is worth it when the door itself needs attention.
The Manufacturer Step Most Instructions Bury
Every opener manual has a section titled something like “Adjust the Travel Limits.” What most instructions don’t tell you, or only mention in a single sentence, is that the opener’s force sensitivity setting is the one that matters most for daily safety and the one homeowners skip.
Here’s the sequence that actually matters:
- Set the open travel limit first (how far the door goes up).
- Set the close travel limit second (how far it goes down).
- Adjust force sensitivity after both limits are set.
- Test with a roll of paper towels or a 2×4 laid flat under the door. The door should reverse on contact.
- Test the safety sensors by waving an object through the beam while the door closes.
- Test the manual release by pulling the cord while the door is up. The door should stay balanced.
Step three is where most homeowners stop. Force sensitivity set too high will push through an obstruction. Set too low and the door will reverse halfway for no reason on a cold morning. In Winchester, an overnight swing into the 40s will make a door stiffen enough that a too-low force setting trips the reverse. That’s not a defect. It’s a setting.
Older openers, especially pre-1993 models built before the safety reverse requirement was standard, should be replaced outright. If your current opener has no working safety sensor on the bottom of the track, an opener replacement is not an upgrade; it’s a safety correction.
Will DIY Void Your Opener Warranty?
Honestly: often, yes. Many manufacturers require professional installation for the warranty on the motor or the labor coverage to apply. The warranty language varies by brand and model, and reading the fine print before you start is worth the fifteen minutes.
Three things to check in the manual or the warranty card:
- Whether the motor warranty requires “professional installation” or a professional installer’s certification.
- Whether the labor coverage has a shorter window if a homeowner installs it (some are 90 days homeowner-installed vs. 5-10 years installed by a pro).
- Whether your installer needs to be factory-authorized for parts coverage on the rail and belt.
The manufacturer’s warranty is a separate document from any work guarantee on the job itself. When you buy an opener through a shop like ours, the 90-Day Done Right Promise stands behind our installation, and if anything isn’t right, we come back without charging you again. But the manufacturer’s motor warranty is written by the manufacturer, and they set their own rules on who installs it. That’s the fine print worth asking about at the point of purchase.
If you’re not sure about your specific opener model, call the number on the manual before you unwrap anything. A five-minute call now is worth not finding out at repair time that you voided the motor.
The Electrical Code Question
Most residential openers plug into a standard 120-volt outlet near the ceiling of the garage. That’s the plug-and-play setup, and if the outlet is already there, an existing receptacle is legal and adequate for a new opener.
You’re getting into code territory when:
- You need a new outlet installed for the opener.
- The existing outlet is not on a dedicated circuit and shares load with a space heater or air compressor.
- The wiring runs through exposed positions or needs to be added to a garage with no ceiling receptacle at all.
- The garage has a newer panel and the inspector flagged the opener to a GFCI-protected circuit (common in newer Winchester construction).
Adding a new circuit or outlet is a licensed electrical job, not a homeowner job, in most jurisdictions. And even in areas where a homeowner can legally pull a permit for it, we don’t recommend it. A garage opener drawing from a shared circuit will trip breakers intermittently and get blamed on the opener. If you need a new outlet, get a licensed electrician. Our Garage Door Opener in Winchester team can tell you when the opener itself is fine and the electrical supply is the issue, which saves you wondering.
DIY Savings vs. Professional Cost: The Real Math
The honest answer is that DIY saves real money on the surface and can cost more than a professional install if something goes wrong. Here’s the breakdown without inflating either side.
What DIY actually costs
- Opener unit (mid-range belt-drive, Chamberlain or Genie): $180-$350
- Replacement hardware (bolts, header brackets if you switched brands): $10-$40
- Installation labor: free, at the cost of an afternoon
- DIY total: roughly $200-$400
What a professional install runs
- Opener unit (same mid-range belt-drive): $180-$350
- Professional installation labor: $150-$300
- Disposal or haul-away of the old opener: often included, sometimes $25-$50
- Typical professional total: $350-$650
The realistic savings on a DIY swap is $150-$300. That’s real money. But the math shifts when things go sideways:
- A misdrilled header bracket that damages drywall or a structural header: $100-$300 in repairs.
- A door pulled out of balance during install that now needs a spring adjustment or replacement: a repair call, not a DIY afternoon.
- A stripped travel limit on a new opener from poking at it blindly: a warranty replacement, and it’s on you.
- A dropped opener damaging a car: more than a professional install, guaranteed.
The break-even is: if you’re reasonably handy, have a second person to help lift, follow the manual closely, and your door is already balanced, DIY makes financial sense. If your door is sagging, off-track, or you’re not sure, the $150-$300 you saved on install disappears the moment the springs come up. And in that case, we’ll come out and quote a fair number before any work starts. No surprises on the bill. If you’re near Mainspring Garage Door Co. Winchester home and want to talk through which case you’re in, call us.
Our technicians have up to 10 years of experience on openers, springs, and doors in Winchester, and most jobs are finished in one visit because we carry the parts we need already on the truck.
Common Mistakes to Avoid
- Adjusting or removing the torsion spring. A torsion spring holds the entire weight of the door and is under tension even when the door is closed. Adjusting one is not a homeowner task at any skill level. If your door is heavy, sagging, or won’t hold position, that’s a spring call.
- Assuming a new opener will fix a heavy door. It won’t. The motor cannot lift a door that the springs can’t balance. This is the mistake we see most often in Winchester, and it’s how a $200 opener turns into a $500 call.
- Skipping the force sensitivity setting. Travel limits aren’t the end. If force sensitivity is too high, the door pushes through anything in its path. Too low and it reverses on cold mornings. Test with a 2×4 under the door.
- Mounting the header bracket to drywall alone. The opener’s weight and pulling force go through that one bracket. It needs to be bolted to a structural member, not drywall anchors. Instructions tell you this; a lot of homeowners ignore it.
- Leaving the safety sensors misaligned. If they move after the install, the door stops halfway and everyone assumes the opener failed. Check the sensor indicator lights before assuming the worst.
- Assuming your warranty covers a DIY install. Read the manufacturer’s installation clause first. Many require professional install for the motor warranty to apply.
- Trying to do the work alone. Lifting a 30-plus-pound opener overhead while simultaneously drilling is how people hurt their backs or drop the unit onto a car. Get a second set of hands.
When to Call a Professional
Call when the door itself is out of balance, when the door won’t stay up on the manual release, when the tracks are bent or misaligned, when the springs are visible and worn, or when you need electricity run to a new opener location that doesn’t have an outlet. Call if the door sags when you try to lift it manually, or if the door has ever come down hard on its own. And call if the opener’s force sensitivity setting won’t stabilize after adjustment; that usually points to a door problem the opener is trying to compensate for.
Mainspring Garage Door Co. Winchester offers free estimates in Winchester, and the price is stated and agreed before any work starts. Call (888) 326-0817.
See the difference
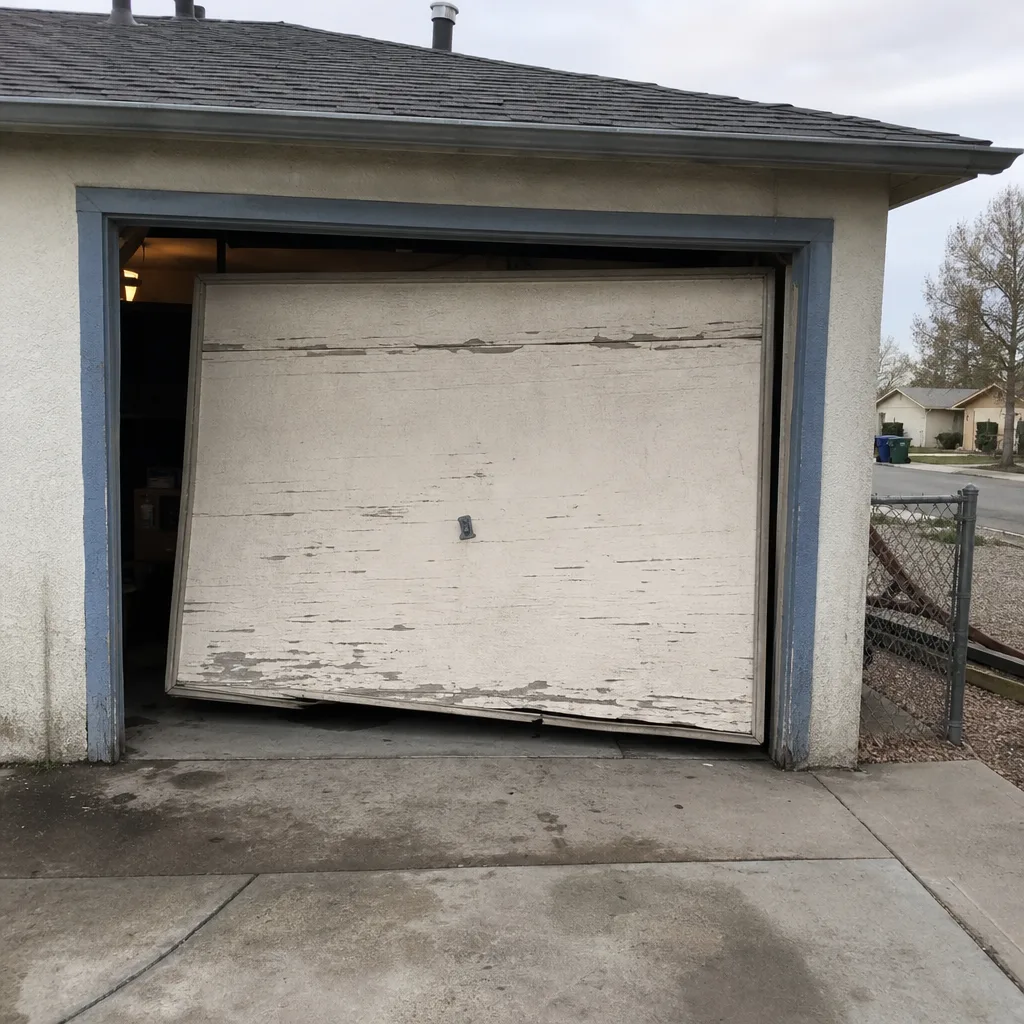 Before
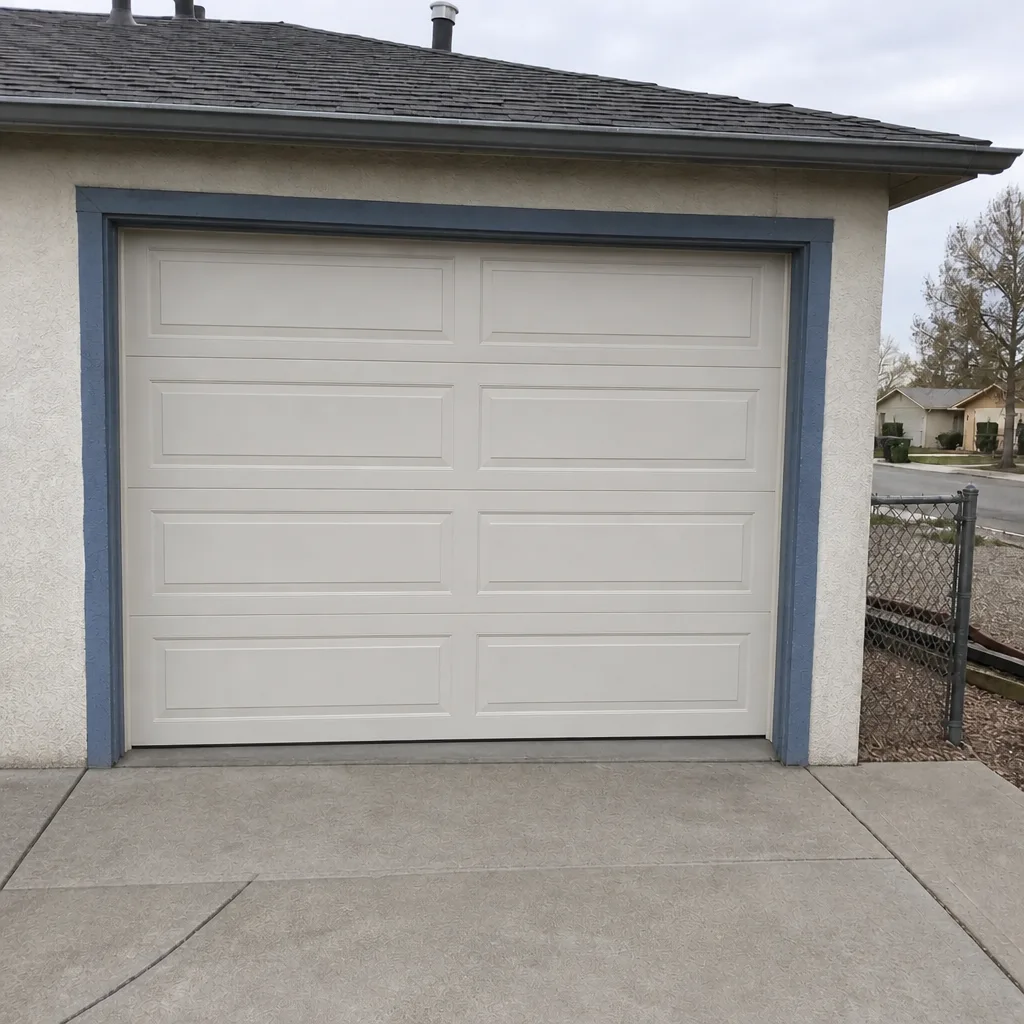 After
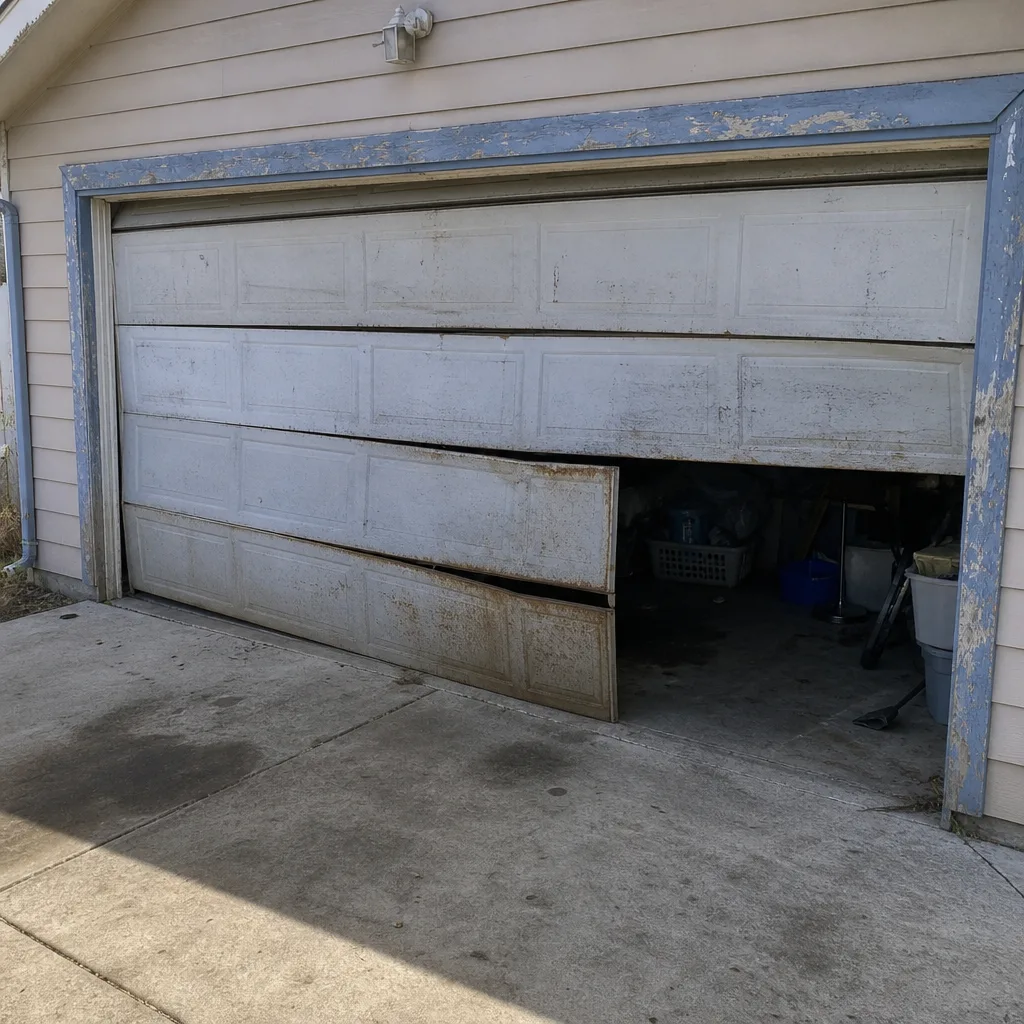 Before
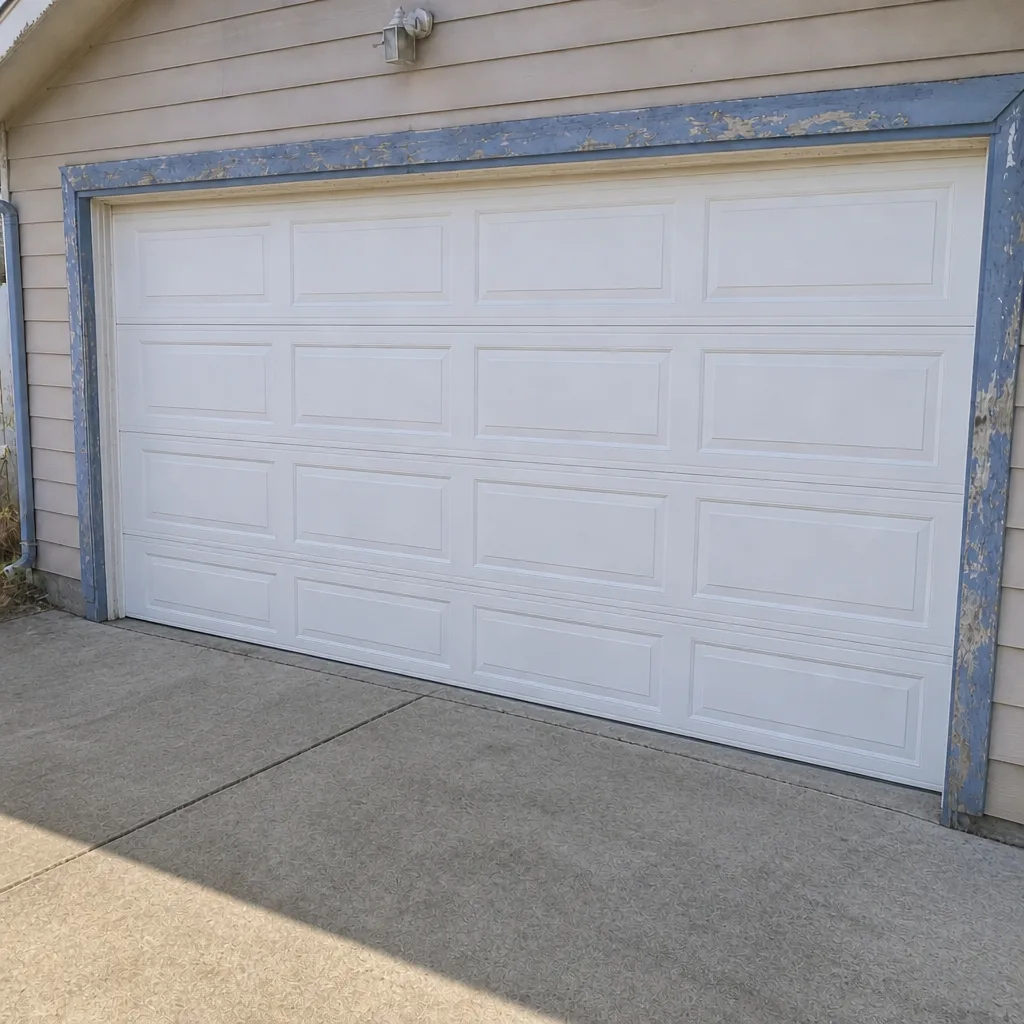 After
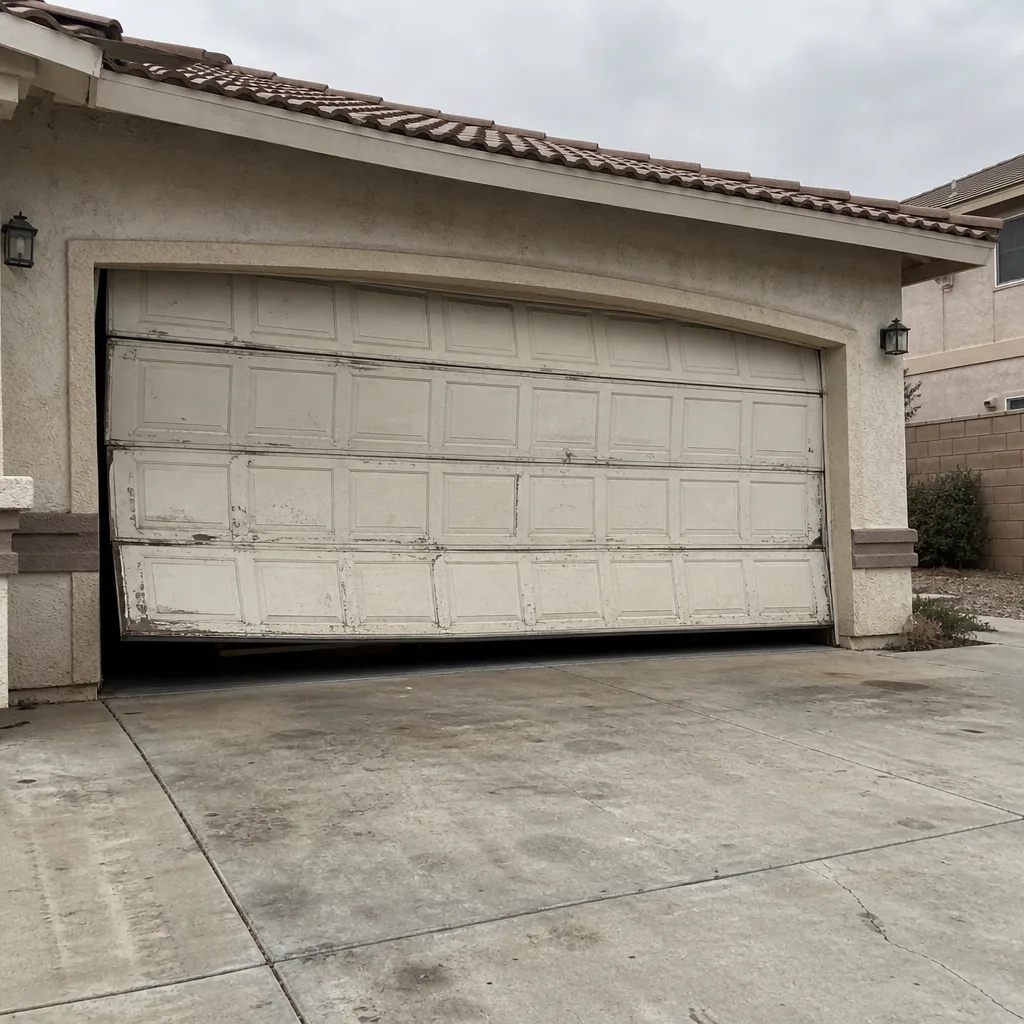 Before
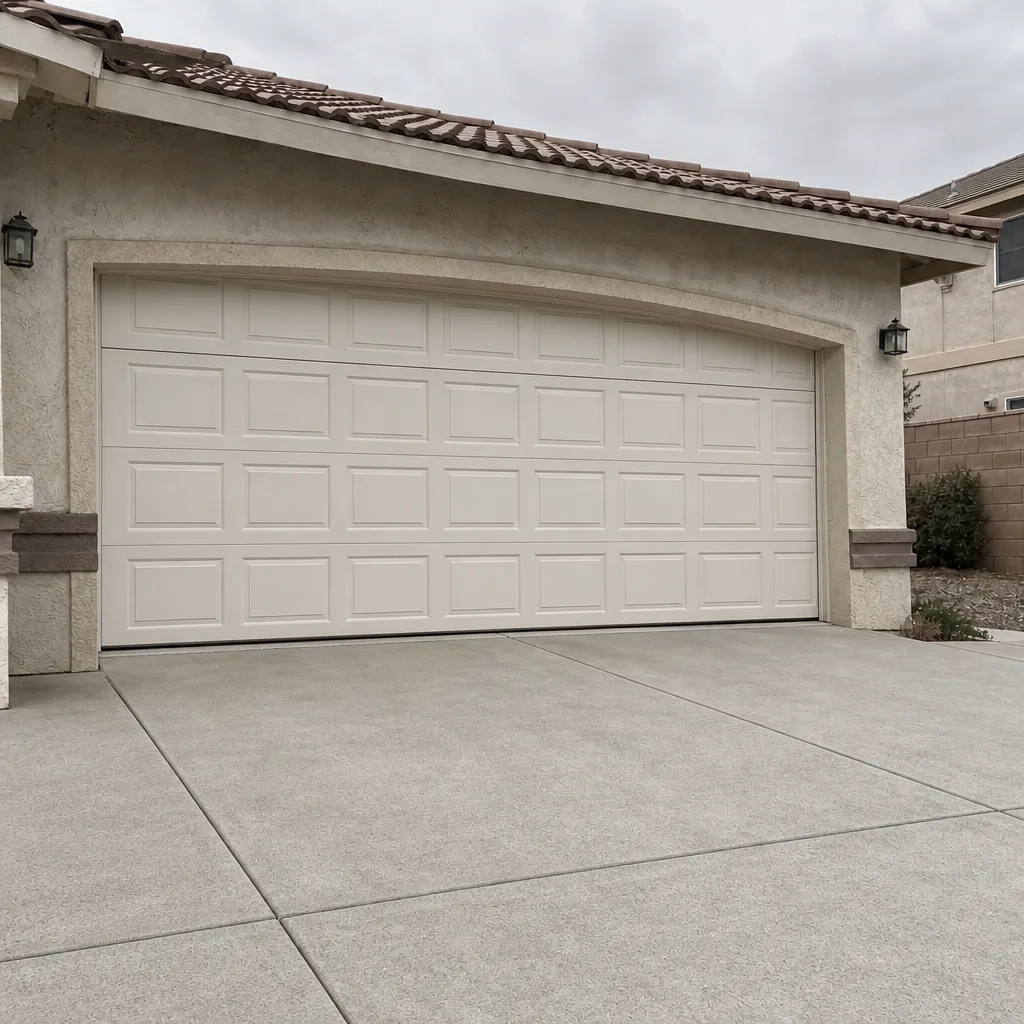 After
Frequently Asked Questions
Yes, if the door is balanced, the springs are healthy, and you’re only replacing the motor unit on an existing setup. The work is drill, hang, adjust, test. What makes it unsafe is when homeowners try to fix an out-of-balance door by installing a new opener and then adjusting the springs to compensate. That’s a call.
Yes. Installing a garage door opener on an existing outlet does not require a permit in most residential settings. What does require a licensed professional is running new electrical wire or adding a new circuit. If the opener needs a new outlet, hire a licensed electrician for that part, then mount the opener yourself.
Often. Many manufacturers require professional installation for the motor warranty or the labor coverage to apply. Check the installation clause in the manual before you unbox. Some brands (LiftMaster and Chamberlain among them) publish specific installation requirements in the warranty card. If the warranty card says “professional install required for motor coverage,” the savings of a DIY job don’t apply to that part.
Typically $350-$650 for a mid-range belt-drive opener, installed. The price depends on the opener itself, whether the old unit needs to be disposed of, and whether any electrical work is needed. Call (888) 326-0817 for an exact quote. The price is agreed before work starts, and if the quote doesn’t cover something the tech finds on arrival, they’ll tell you before touching a tool.
No. If the door is heavy or sagging, the springs are the problem, not the opener. A new opener with a healthy motor will burn out trying to lift a door the springs can’t hold. Springs are a professional job and usually a same-visit fix; the technician arrives with the correct size spring already on the truck for most standard residential doors.
Usually two to three hours for a straight replacement. If the door needs adjustment or spring work too, add another hour or two. In Winchester, jobs are typically completed in a single visit because the parts are already on the truck. No second trip for a bracket or a belt.
The Bottom Line
Swapping an opener on a working door is within reach for a careful homeowner, provided you’re honest about the door’s condition and read the warranty fine print first. Anything involving springs, cables, tracks, framing, or new electrical is professional territory, and the cost of getting it wrong is higher than the cost of the call. We’re a Winchester shop, and we say that plainly: a square deal on a professional install is cheaper than a DIY project that ends in a repair bill. If your door is a question mark, that’s the moment to call.
Call (888) 326-0817 for a free estimate on your opener, spring, or door. Phones are answered by a live person around the clock, and we’ll tell you straight whether your job is a DIY afternoon or a one-visit professional call. Standing offers include $50 Off Any Repair Over $250, a Free Second Opinion on any written estimate, an $89 Seasonal Tune-Up, and a permanent 5% discount for seniors and veterans. Every job is covered by our 90-Day Done Right Promise, in writing.
Written by the team at Mainspring Garage Door Co. Winchester.